Introduction
We host quite a large amount of MariaDB or MySQL databases and often get requests for installing phpMyAdmin on servers.
Our recommendation has always been to use a local database client installed on a client computer, connecting to the remote database through a VPN or a specific firewall restriction.
Examples of these clients that we'd recommend are DBeaver (multiplatform) or HeidiSQL (Windows only).
We can however understand why someone would really want phpMyAdmin to offer to multiple collaborators in an office where people are not familiar with using a thick database client and possibly having to setup a VPN connection.
The process also includes what we believe to be the best way to setup a PHP development environment on Windows.
Security
Having phpMyAdmin available to the whole Internet on a public server is usually a bad idea. Most attack bots will look for it and try all known exploits to get in.
It's even worse when some passwords are present inside the configuration files.
We sometimes put it on a port that is firewalled but some exploits could still reach it from a local connection.
What we'll present today is a way to run phpMyAdmin on your own computer and possibly configure multiple databases to access through it.
Installing PHP
Recommended PHP installation method still often implies installing a web server (like Apache) and packaging all of that together in a product such as XAMPP.
However, PHP includes its own "development server" and you don't usually need something extra on top.
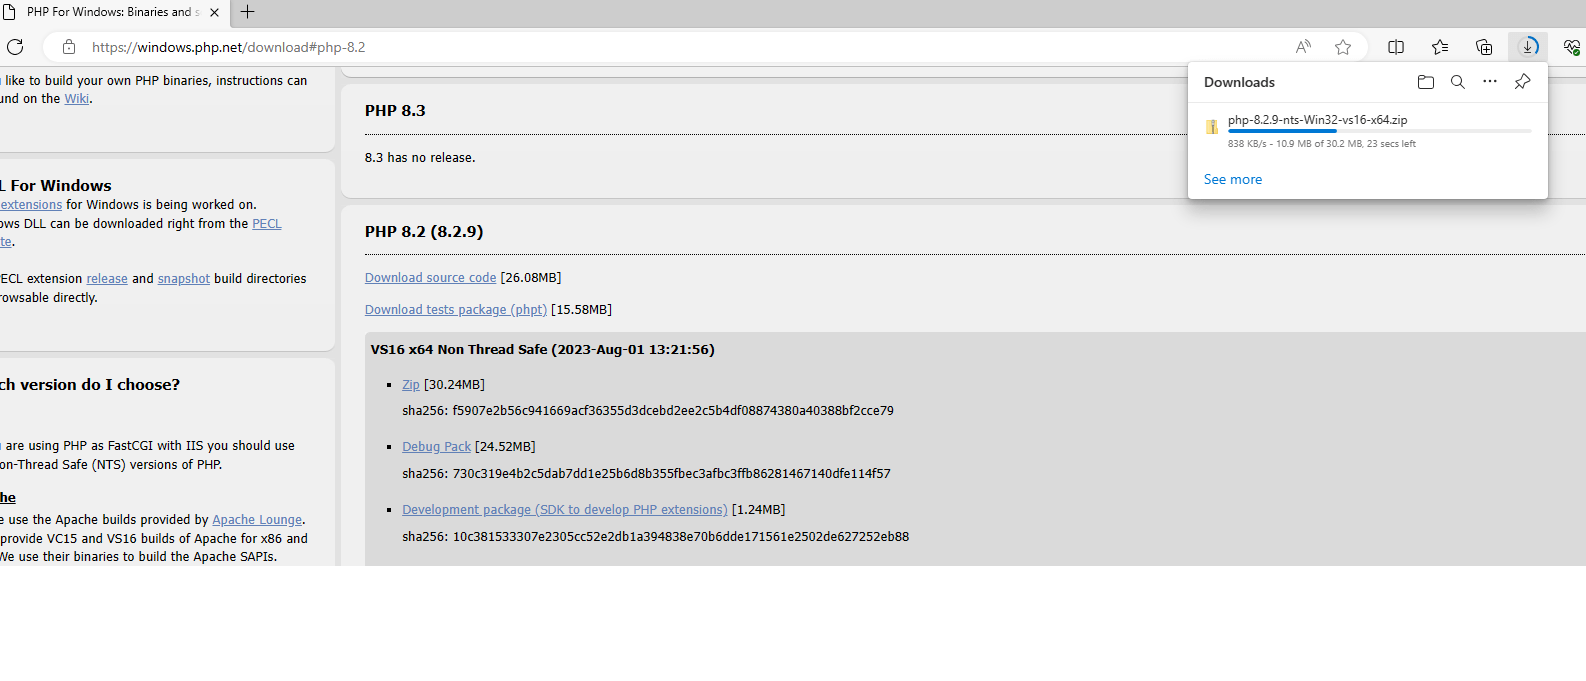
To install PHP on Windows, go to their download page, and pick the non-thread safe x64 build as a zip file.
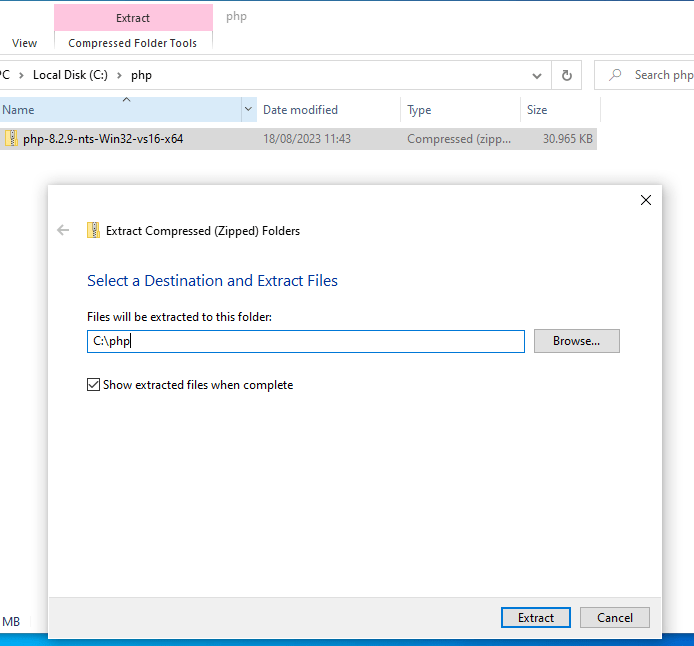
→ Extract the zip to c:\php. You can then delete the zip file. The Windows extract tool is perfect for the job:
→ Inside the new directory, copy or rename php.ini-development as php.ini.
→ Edit that file, look for the "dynamic extensions" section, which should look something like:
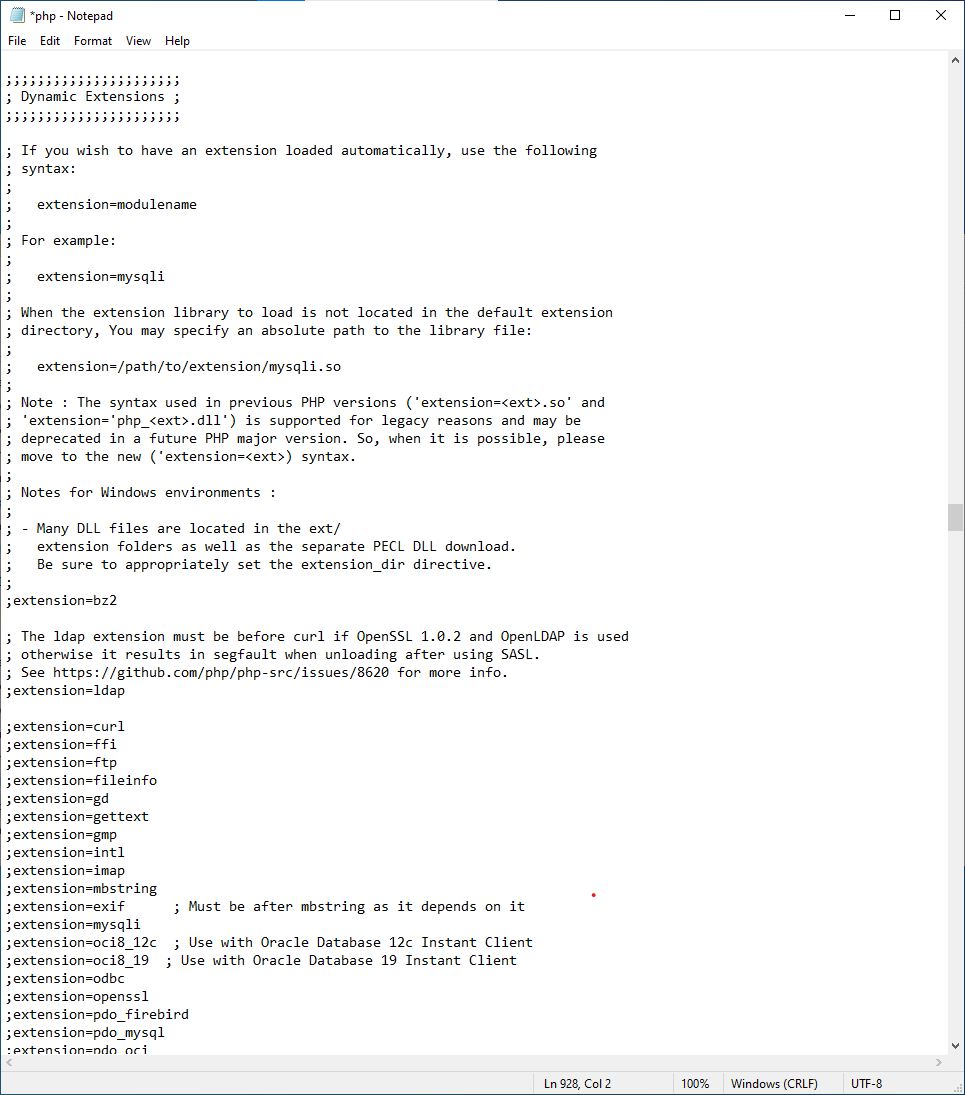
Uncomment the lines (remove the leading ";") for the following modules:
- curl
- fileinfo
- gd
- mbstring
- mysqli
- pdo_mysql
- sqlite3
- zip
Adding the PHP binaries to the PATH
We can now manually add the PHP binaries (mostly php.exe) to the Windows path which will allow us to invoke php directly anywhere on the system from a command line prompt.
There are multiple ways to do this, easiest is to open a command prompt and use setx:
setx PATH "%PATH%;C:\php"Then close and re-open the terminal to reload the new PATH variable.
Check that it worked by invoking php -v (shows PHP version information):
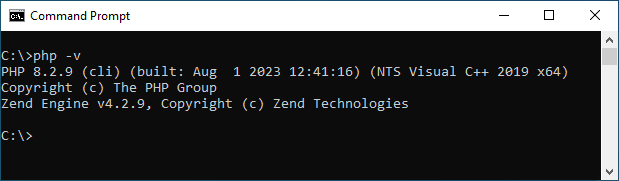
The modification will only apply to your current user. If you want php binaries to be in the PATH for all users, you'll need the following command (might require administrator privileges):
setx /M PATH "%PATH%;C:\php"You can now easily invoke php.exe from the command line. As a freebie, php -a runs an interactive PHP shell you can use for quick experiments.
Download & configure phpMyAdmin
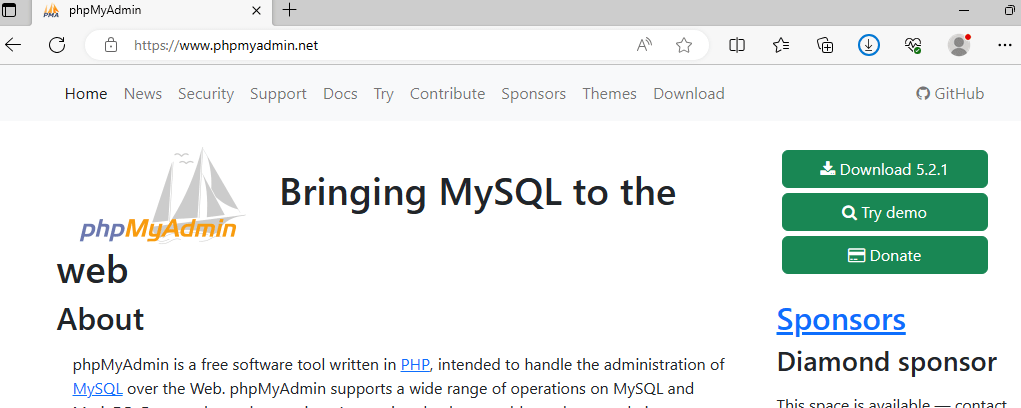
You can download the latest release of phpMyAdmin from the link on their homepage.
→ Unzip the release in a directory of your choice e.g. in c:\Projects.
→ Into your local phpMyAdmin directory, copy or rename config.sample.inc.php as config.inc.php.
→ Edit the config file and copy the whole following section that should be near the top of the file:
$i++;
/* Authentication type */
$cfg['Servers'][$i]['auth_type'] = 'cookie';
/* Server parameters */
$cfg['Servers'][$i]['host'] = 'localhost';
$cfg['Servers'][$i]['compress'] = false;
$cfg['Servers'][$i]['AllowNoPassword'] = false;
Just change the "host" to be whatever your database host is (can be an IP address). You could also add more of these to connect to other database servers;
A local VPN IP address or an SSH redirection should be used for security reasons.
Running phpMyAdmin
We can run phpMyAdmin using the PHP dev server included in php.exe.
We need to open a command line prompt and go to the directory where you unzipped phpMyAdmin.
If you don't know how to do that, there's a trick using a right click on the address bar and entering "cmd":
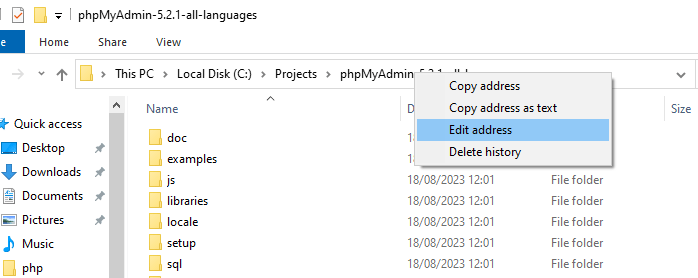
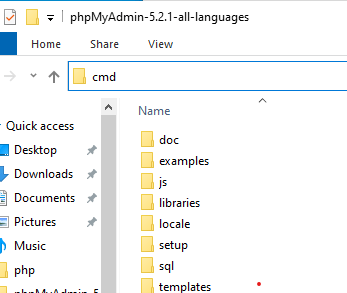
You can then press "Enter" and that should open a command prompt in the right directory.
Type the following command:
php -S localhost:8080Where localhost could be a local IP address in the office, and the 8080 port can be modified as needed.
Leave the terminal open (or the PHP server will close) and open a browser window on address http://localhost:8080 (or whatever else you picked).
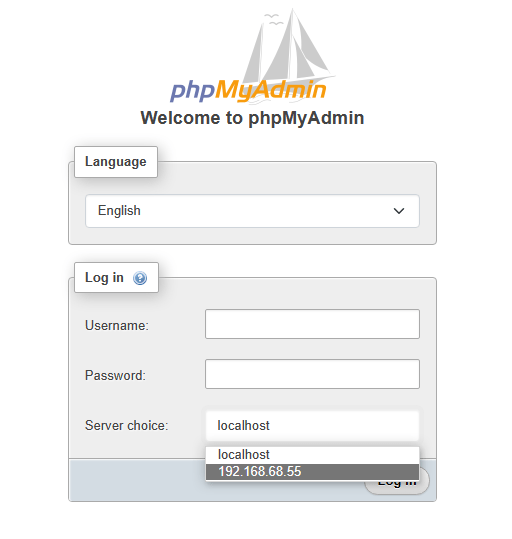
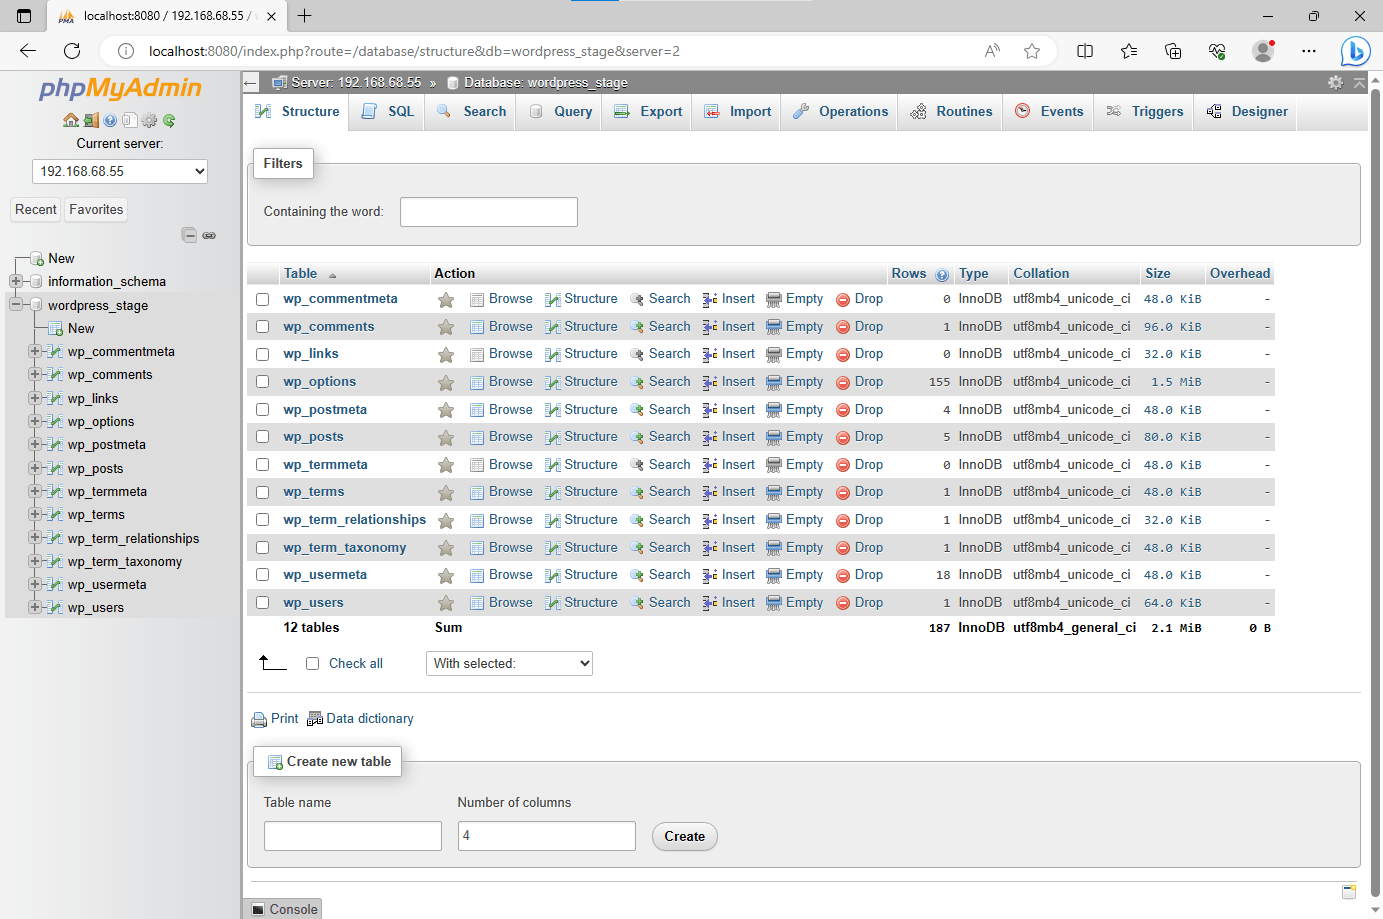
You should see the login screen and be able to pick the database server we configured earlier from the dropdown menu (mine is "192.168.68.55").
Use your database account to log into MySQL or MariaDB.
To close the server, press Ctrl+C in the terminal running the PHP dev server, or close that terminal altogether.
There will be a mention that there is no "pma configuration storage" which means we have no database dedicated to phpMyAdmin itself. You could create a local one if you have a database server but the program runs perfectly fine without it in my experience.

The pma database needs to be configured in the phpMyAdmin config file, with a cleartext password (another reason to avoid using it).